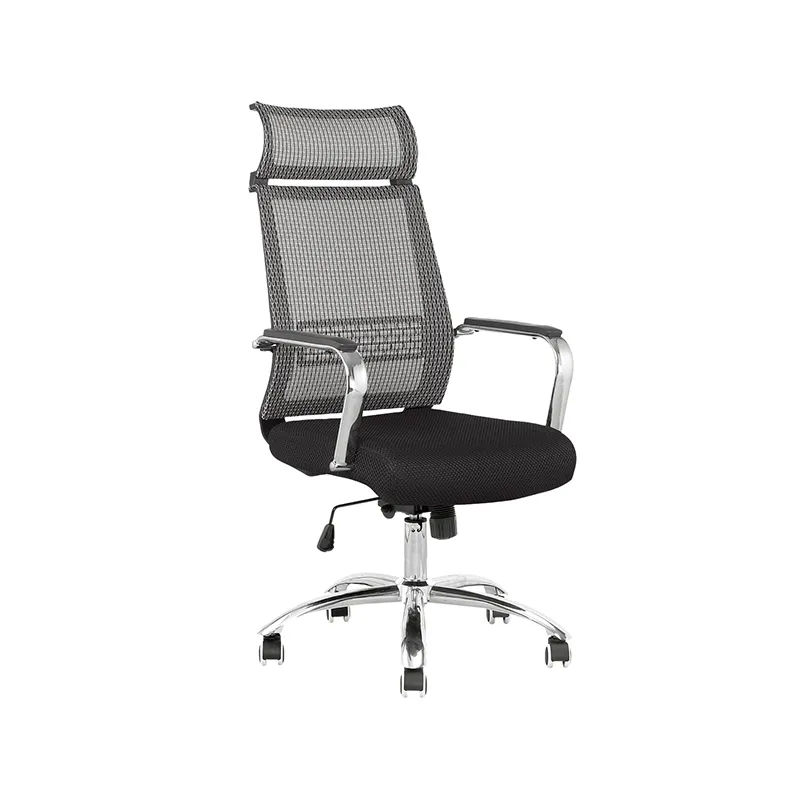
Armrests from 1D to 4D: what each direction adds, costs and breaks

Armrests are described by a number and a letter — 1D, 2D, 3D, 4D — and the letter system is honest: each "D" is one direction of adjustment, and each direction adds parts, price and one more interface that can develop play. Here is what each level actually buys, and what to write in a spec so the arms still feel tight after two years of elbows.
The ladder, direction by direction
Fixed arms are a loop or a blade bolted to the seat plate or the back upright. Nothing moves, nothing wobbles, nothing is adjusted — fine for meeting chairs and short-occupancy seating, wrong for an eight-hour task chair unless the population is unusually uniform.
1D adds height. This is the adjustment that matters most: forearm support at the right height is the difference between shoulders relaxed and shoulders shrugged all day. A ratchet or button mechanism gives typically 60–100 mm of travel. If a budget allows only one moving part on the arm, this is the one.
2D adds width or pivot on top of height — the pad slides in/out or angles, letting users bring support under the elbow rather than leaning outward to find it. 3D adds the other of those two. 4D adds forward/back travel, so the pad follows whether the user is typing close or reading back from the desk. 4D is the spec sheet flex, and it is genuinely useful — but every direction is a sliding interface, and quality shows up not in the count of directions but in how little each one rattles.
Where the wobble comes from
Arm complaints in year two are almost never about range; they are about play. The pad rocks, the stem clicks, the width slider drifts. Mechanically that traces to three places: the pad-to-slider interface (cheap ones are plastic on plastic with generous clearance), the height mechanism's lock (a worn ratchet lets the arm drop under load), and the arm-to-seat bolting (three small screws into thin steel work loose; a proper bracket doesn't). None of these are visible in photos, all of them are obvious in thirty seconds of handling — grab the pad and try to twist it, lean on the arm and stand up using it, run the height lock fifty times. That handling test belongs in your sample evaluation as a named check.
Pad material is the comfort half: PU (self-skinning foam) pads are the standard — soft enough for elbows, durable enough for sleeves. PP (hard plastic) pads cost less and are fine for short-stay chairs but print elbows in an hour. Upgrades run through padded PU over a nylon core to leather-wrapped for executive lines.
Testing, briefly
Structural arm tests exist inside the office-chair standards — static loads pushing down and pulling out on the arms, plus fatigue cycling — because arms are what people grab to sit down and push on to stand up. A chair whose test report covers the whole chair covers the arms in that configuration; swap to a different arm and the report no longer describes your chair. If you change arms for a program, say so before the paperwork is quoted, not after.
What to write in the spec
Four lines: the level ("3D: height + width + pivot"), the travel ("height 80 mm min"), the pad ("PU self-skinned, 250 × 95 mm approx."), and the play limit — the honest phrase we suggest is *"no perceptible free play at pad after 10,000 height cycles; arms lockable at all positions under load."* A factory that builds good arms will sign that sentence without blinking. A factory that hesitates has told you which arms it builds — and better to learn that at the quotation stage than in a warranty email with a video of a rocking pad attached.